For some blogs I need to capture terminal screens. The recording of these types of screens have different requirement then normal application or website recordings. The bottom of the video is the most important part, the letters need to be crisp and readable for the end user.
To make the capture more usable, I want to add a black border it. In this blog I show what I use, to record my terminal interactions and improve them.
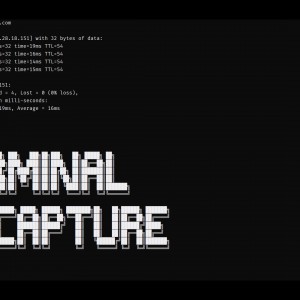
The "before" GIF
I use ScreenToGif to record my screen on Windows and it produces a GIF. This recording of my terminal shows how the text of the console is very close to the border of the GIF.
FYI: I use the website ezGIF Optimizer to optimize GIFs for my blog.
Why not record on HD?
The resolution of the GIF is only 1164x828. Why? I deliberately keep it smaller than full HD - 1920x1080. If I make it full HD, YouTube will paint the controls over the bottom of the video:
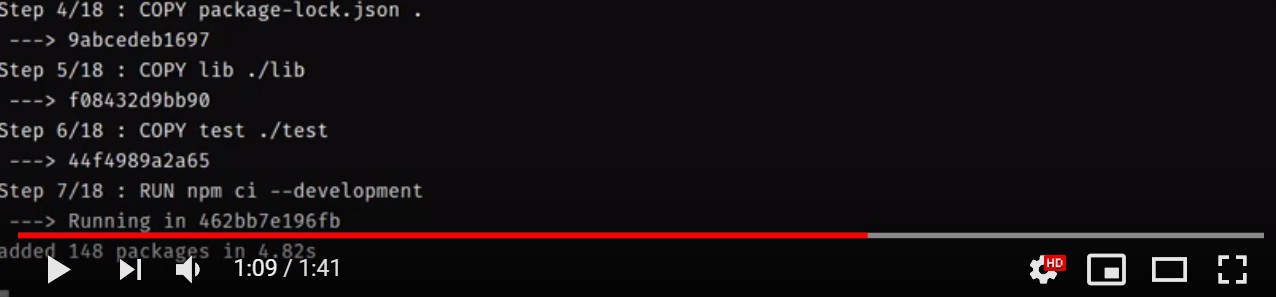
The bottom is the most important part of a terminal recording! I like to make it easier for my users to interact with the video without losing information.
The GIF needs to be in the middle of the video. I don't want the GIF to be scaled up or down, as it is already pixel-perfect.
Enter FFmpeg
FFmpeg is a command line tool that aims to make video conversion available for anyone on any platform.
FFmpeg is the leading multimedia framework, able to decode, encode, transcode, mux, demux, stream, filter and play pretty much anything that humans and machines have created. It supports the most obscure ancient formats up to the cutting edge. No matter if they were designed by some standards committee, the community or a corporation. It is also highly portable: FFmpeg compiles, runs, and passes our testing infrastructure FATE across Linux, Mac OS X, Microsoft Windows, the BSDs, Solaris, etc. under a wide variety of build environments, machine architectures, and configurations.
Source: https://www.ffmpeg.org/about.html
Add black borders
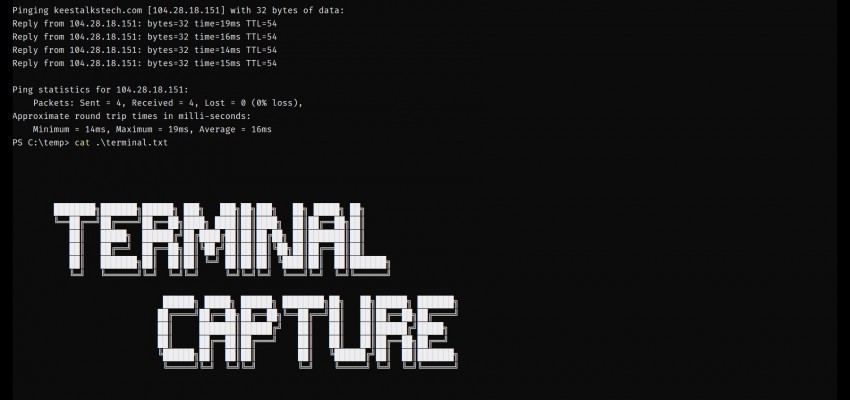
Now, let's use FFmpeg to convert the GIF in a full HD mp4 video with black borders:
ffmpeg.exe -y -i "my-screen.gif" -f lavfi -i "color=c=black:s=1920x1080" -filter_complex "[0:v]scale=w=1*iw:h=1*ih[scaled];[1:v][scaled]overlay=x=0.10*main_w:y=0.10*main_h:eof_action=endall[out]" -map "[out]" -strict -2 "recording.mp4" The result looks like this:

Double speed
Some screen recordings - especially those with docker pulls - take much longer than needed. Here's how to convert the video into one with double speed:
ffmpeg.exe -i "recording.mp4" -filter:v "setpts=PTS/2" "recording-2x.mp4"Which looks like this:

Conclusion
No fancy video-editors or services are required to convert your GIFs to proper MP4 videos. Just use FFmeg, an open source command-line tool.