

A Table of Contents helps users navigate (long) blog posts. I use them on both posts and post. The desktop version always shows the table on the right side in the sidebar (using a text-widget with a shortcode). On mobile, I'll only show it on long articles, using a shortcode under the first paragraph.
I love shortcodes, because they are very versatile and easy to adjust. I ship them with my theme. My table of contents looks like this:
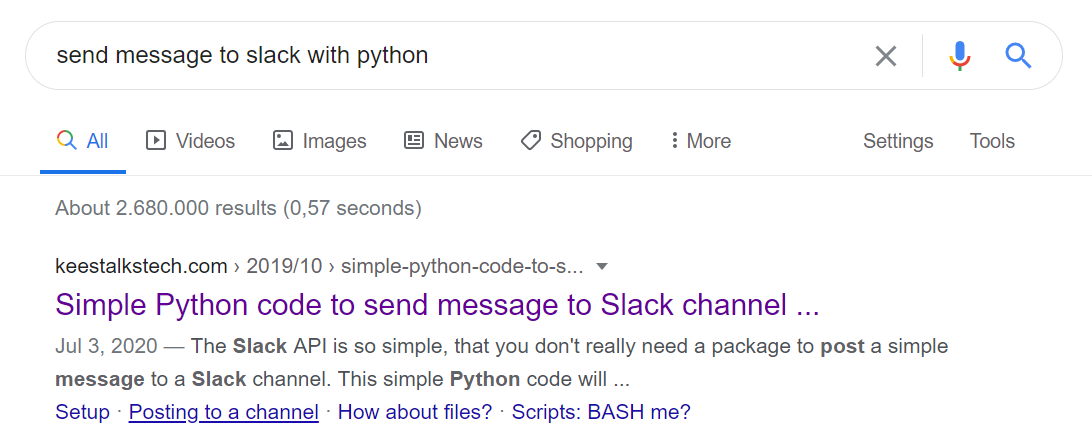
I like the fact that Google also looks to the Table of Contents:
Let's jump right in: first we need to add id's to the headings and then we can use them to create a Table of Contents with jump links.
1. Named anchor headings
I love headings that are navigable. It helps users to share a section of an article with others, instead of the entire page. Did you know we can jump to any element with an id attached to it? Let's make our headings clickable as well.
We want to attach a unique identifier to every H2...H9 element. I like to keep things readable and backwards compatible, so we are using the text of the heading to generate the unique identifier.
add_filter('the_content', 'ktt_parse_headings');
function ktt_parse_headings($content)
{
    if (is_singular()) {
        $regex = "/<(h[2-9])([^>]*)>(.*?)<\/\\1>/";
        $content = preg_replace_callback(
            $regex,
            "ktt_add_header_links",
            $content
        );
    }
    return $content;
}

function ktt_add_header_links($matches)
{
    $h = $matches[1];
    $attr = $matches[2];
    $title = $matches[3];
    $id = sanitize_title($title);

    $txt =  '<'
        . $h
        . $attr
        . ' id="' . $id . '">'
        . '<a href="#' . $id . '">'
        . $title
        . '</a></'
        . $h
        . '>';

    return $txt;
}
The is_singular makes sure that a TOC is rendered on single pages and a blog posts.
We use regular expression groups to extract information from the headings. Regular expression can be quite daunting, but when visualized they become easier to understand:
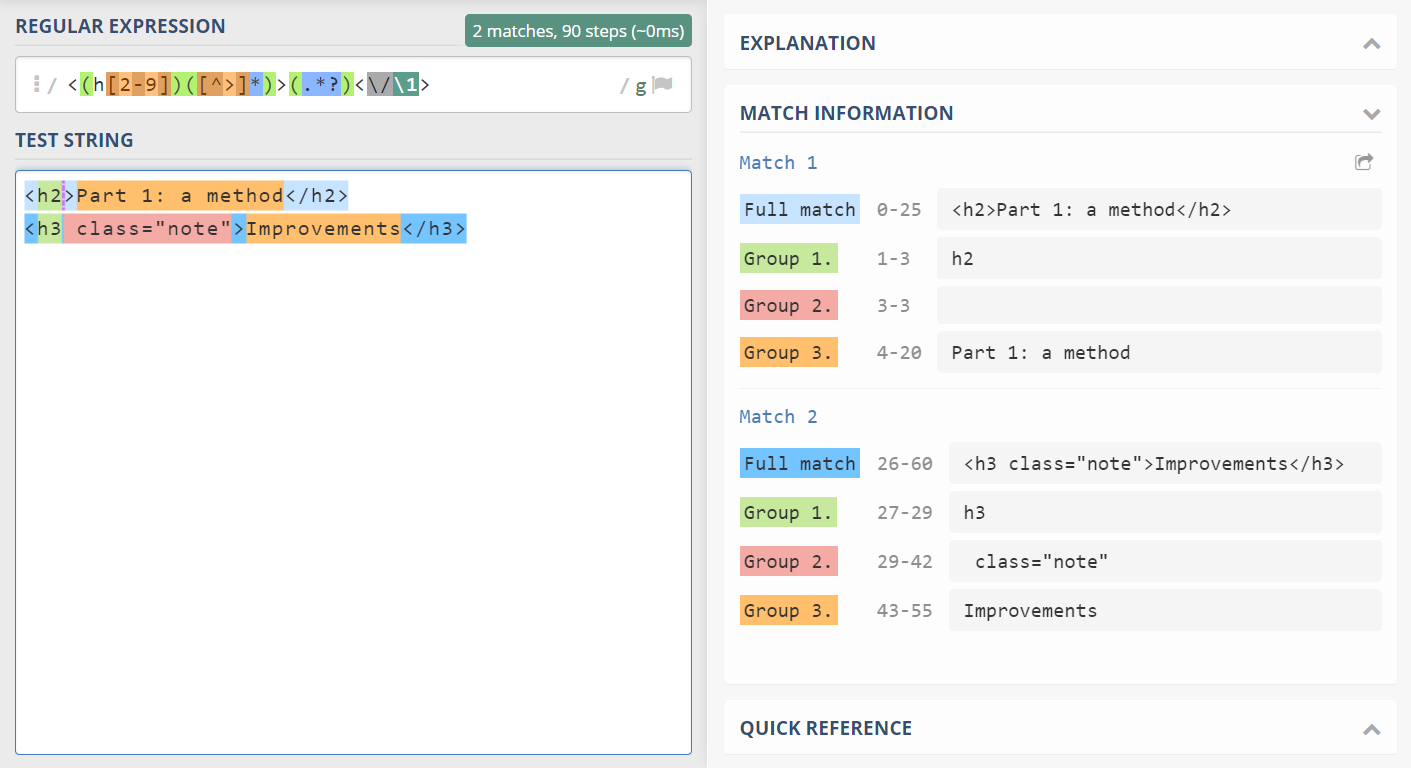
h2.The id is created by sanitize_title($title). This turns our text into a readable fragment identifier. It removed characters that are not needed and produces a predictable result:
Shortcode?      => #shortcode
Bonus: Queue    => #bonus-queue
What's a stack? => #whats-a-stack
2. The outline shortcode
Here I must start with a disclaimer as the implementation of the TOC is opinionated:
- Only
h2andh3elements are considered for the TOC. - The elements are placed into ordered lists:
ol. - An Intro element is inserted at the top, with a link to
#top. My theme has abodyelement withid="top". - Post pages have a Comments element added. My theme has a comment section element with
id="comments". - Post pagination is not supported.
- The TOC works on both posts and pages.
- The code assumes the headings are properly nested.
TOC implementation
The following code will implement the shortcode:
add_shortcode('outline', 'ktt_sh_outline');
function ktt_sh_outline($atts)
{
    # only show on pages and posts
    if (!is_singular()) {
        return "";
    }

    # don't show on empty pages
    $content = get_the_content();
    if (empty($content)) {
        return "";
    }

    # convert headings into a list
    preg_match_all("/(<h(2|3)[^>]*>.*?<\/h\\2>)/", $content, $matches);
    $items = array_map('ktt_heading_to_list_item', $matches[1]);

    # no headings? no outline!
    if (empty($items)) {
        return "";
    }

    $outline = join('', $items);

    # join adjacent ol's together
    $outline = preg_replace('/<\/ol><ol>/', '', $outline);

    # join append ol's to the preceding li
    $outline = preg_replace('/<\/li>\s*<ol>(.*?)<\/ol>/s', '<ol>$1</ol></li>', $outline);

    # wrap numbers
    $outline = preg_replace('/>(\d+\.?)/s', '>($1)', $outline);

    # add a comments section
    if (is_single()) {
        $outline .= '<li><a href="#comments">Comments</a></li>';
    }

    $cls = 'article-outline';

    if (isset($atts['class'])) {
        $cls = $cls . ' ' . $atts['class'];
    }

    $outline =
        '<ol class="' .
        esc_attr($cls) .
        '">' .
        '<li><a href="#top">Intro</a></li>' .
        $outline .
        '</ol>';

    return $outline;
}

function ktt_heading_to_list_item($item)
{
    # remove sub tags from heading (like strong)
    $tagSanitizer = "/<\/?[^h>]+>/";
    $item = preg_replace($tagSanitizer, "", $item);

    $regex = "/<h(2|3)[^>]*>([^<]+)<\/h\\1>/";
    if(!preg_match($regex, $item, $matches)){
        return $item;
    }

    $h = $matches[1];
    $title = $matches[2];
    $lnk = sanitize_title($title);

    // prefix the H3 elements with OL:
    $prefix = $h == "3" ? '<ol>' : '';
    $postfix = $h == "3" ? '</ol>' : '';

    return
        $prefix .
        '<li><a href="#' . $lnk . '">' .
        $title .
        '</a></li>' .
        $postfix;
}
First it gets the h2 and h3 elements from the content. It will parse each element into a li with an anchor. When an h3 is encountered, it will wrap it into an ol.
Now that we have our list of elements, we must do some further parsing. First, we must replace </ol><ol> with ''. This will merge all successive h3-items together.
Next, we must move the ol elements into the preceding li. This produces proper nesting.
As a final touch, we'll wrap numbers with parenthesis on lines that start with them: 4. The 4th movement becomes (4.) The 4th movement.
You can now insert the shortcode wherever you please: in articles, on widgets.
Almost done...
Technically, we're done. But when you implement the code, you'll run into two problems quite quickly. Let's discuss!
Wow... that was fast!
When you click a link, the browser instantly scrolls to that section. This might feel a little "jumpy". I like smooth interactions, so let's "fix" it with some JavaScript:
document.addEventListener("click", (e) => {
  if (!e.target) return;

  let a = e.target;
  if (a.nodeName !== "A") {
    a = a.closest("a");
  }

  if (
    a &&
    a.hash &&
    a.protocol === window.location.protocol &&
    a.host === window.location.host &&
    a.pathname === window.location.pathname &&
    a.search === window.location.search
  ) {
    let id = a.hash.substr(1);
    let element = document.getElementById(id);
    if (!element) return;

    element.scrollIntoView({
      behavior: "smooth",
      block: "start",
      inline: "nearest",
    });

    if (history.replaceState) {
      if (id == "top") {
        history.replaceState(null, null, document.location.href.split("#")[0]);
      } else {
        history.replaceState(null, null, "#" + id);
      }
    }

    e.stopPropagation();
    e.preventDefault();
  }
});
First, we need to make sure that the clicked link has the current document as a destination, otherwise you might break your links!!
When a link with a fragment is clicked, we want to "ease" into that section. The scrollIntoView with behavior: "smooth" does that for us.
Next I use replaceState to make sure the address bar of the browser is updated (because we're not using the browser-behavior). When you click a link with #top we conveniently not show it.
Caveat: the sticky header
When you have a sticky header, you'll notice that the heading can disappear under the header. To counter this, I use the following CSS:
:root {
--gutter: 20px;
--double-gutter: calc(var(--gutter) * 2);
}
.entry-content h2[id]:before,
.entry-content h3[id]:before {
content: "";
width: 1px;
height: var(--gutter);
display: block;
margin-top: calc(0px - var(--gutter));
margin-left: calc(0px - var(--double-gutter));
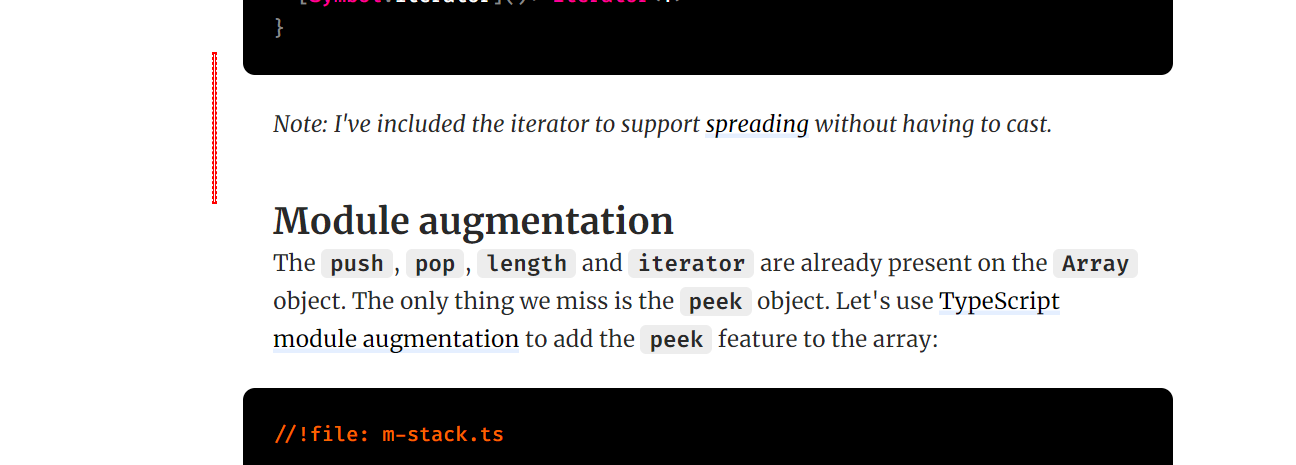
}The CSS can look a bit cryptic. Let's add border: solid 1px red. Now we can see that a tiny square is on the top left corner:
When we click on the heading, it scrolls to the top. Here we see that the heading does not pop under the header:
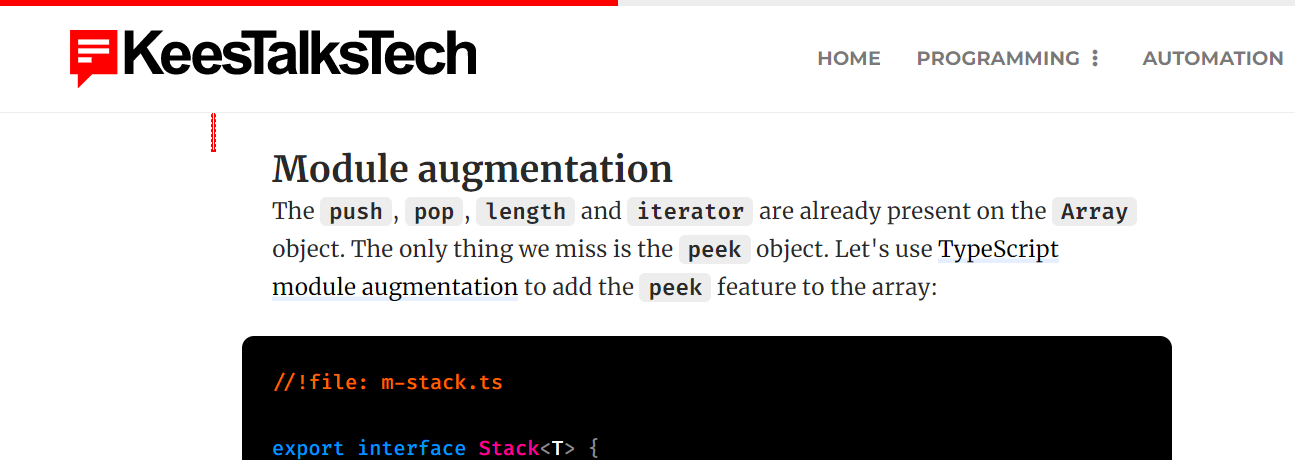
:before element.Conclusion
Adding a Table of Contents is not very hard, but jump-links might have some implications, especially when you have a sticky header. Feel free to add the code to your theme.